
Why a clean hardwire matters for busy drivers
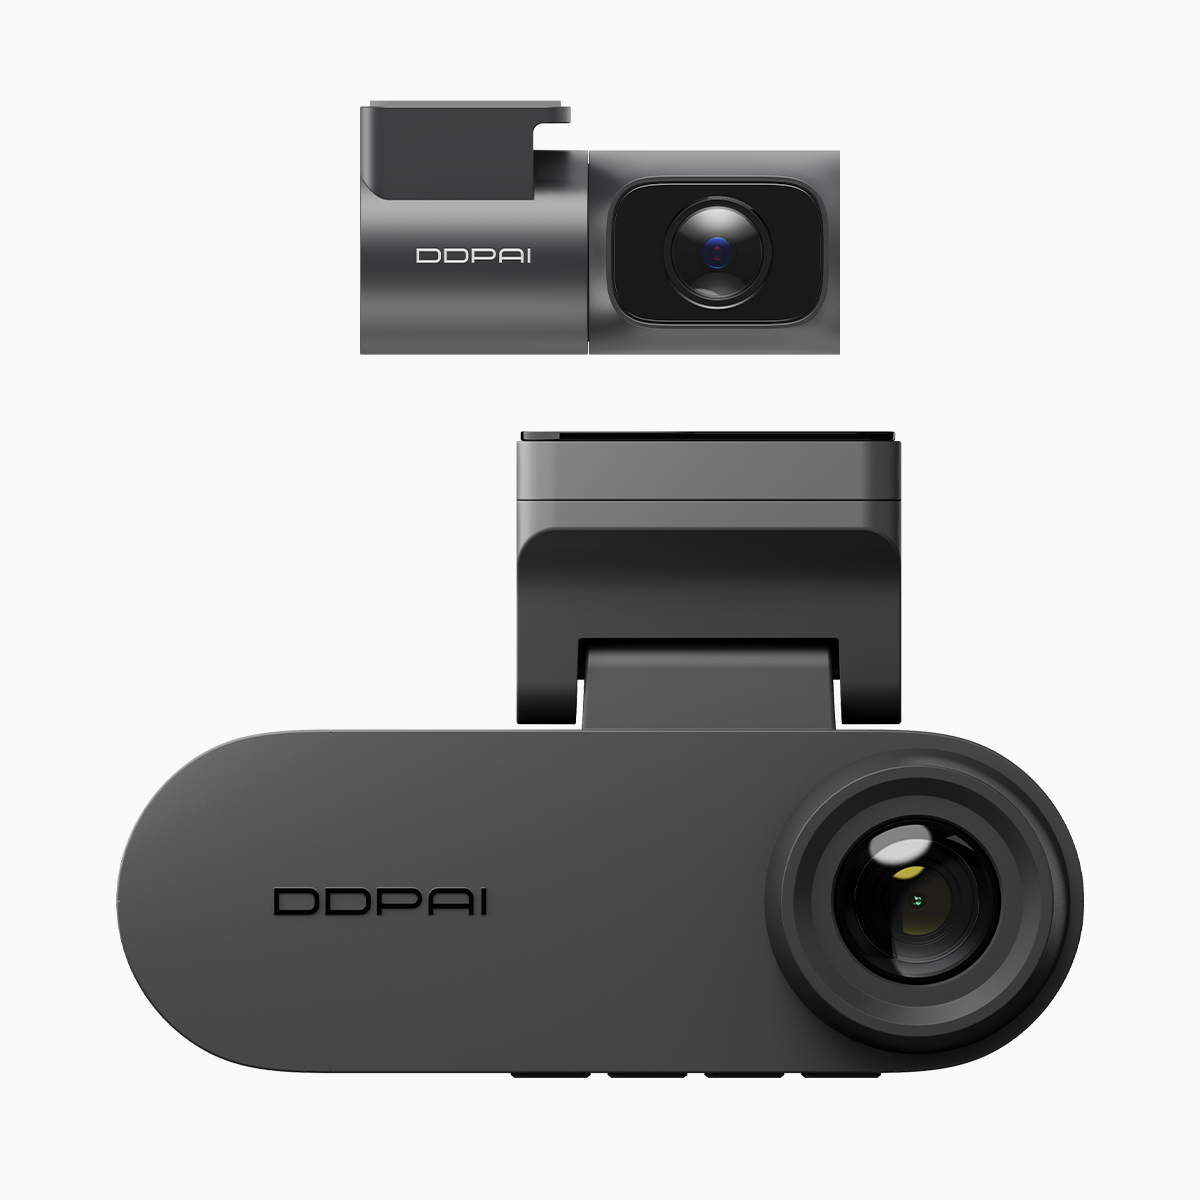
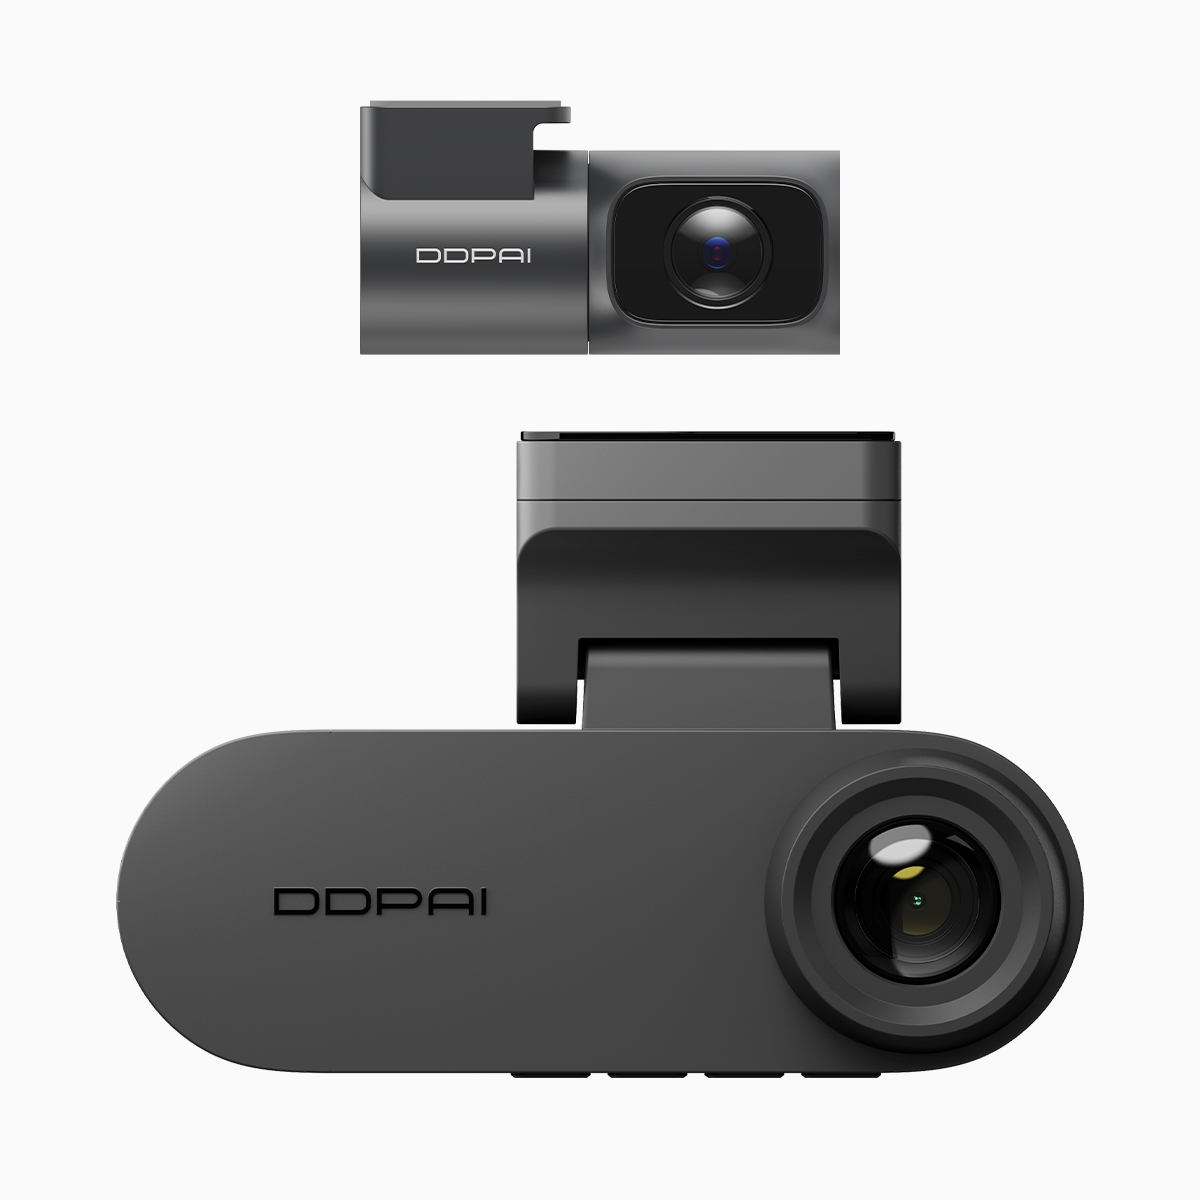
Most drivers want reliable footage and zero battery drain. Start with a clear priority: safety first, neatness second, and longevity third. A proper hardwire kit preserves parking mode and prevents parasitic drain while keeping your cabin tidy. I recommend pairing this workflow with a proven model — think dual dash cam with night vision — because reliable hardware reduces fuss and maximizes uptime. With roughly 1.3 million road deaths worldwide each year (WHO), documenting incidents responsibly is a practical safety measure.
Prep: tools, parts, and what to inspect
Gather: a hardwire kit with a dedicated ground wire, a fuse adapter set, multimeter, trim tools, and zip ties. Check the dash cam manual for voltage and parking mode specs. Identify the vehicle’s fuse box and the ACC and constant 12V fuses; label them. Confirm the hardwire kit supports ignition detection and parking mode without overheating — those details matter more than aesthetics.
Step-by-step routing for a tidy, safe install
1) Park on level ground and disconnect the negative battery terminal. 2) Route the power cable along the headliner, tuck it behind the A-pillar trim, and down the driver’s-side kick panel to the fuse box. Use trim tools to avoid damaging clips. 3) Install the fuse adapter: pick a switched (ACC) slot for ignition-controlled power and a constant 12V slot only if the kit requires battery monitoring. 4) Attach the ground to a clean metal point — not paint — using the ring terminal. 5) Reconnect the battery, test boot behavior, and verify parking mode activation. Keep the camera’s firmware updated after installation to ensure stable parking mode performance.
Common mistakes and how to avoid them
Overfusing is a frequent error: using a higher-rated fuse to avoid trips damages wiring. Cross-check fuse ratings. Poor grounding creates intermittent power loss—clean metal contact solves that. Running the cable across the driver’s footwell risks snagging; tuck it under trim instead. Finally, using the wrong fuse slot for ACC causes the dash cam to stay on or fail to enter parking mode. Fix these and your system will behave like factory equipment.
Quick checks and diagnostics after install
Use a multimeter to confirm you have ~12–14V on the constant line and switched voltage only when ignition is on. Observe the camera through a full power cycle to confirm ignition detection and parking mode engage properly. Monitor for voltage drop during extended parking—this pinpoints poor connections or parasitic draw. If you see unexplained reboots, review cable strain relief and firmware compatibility with the hardwire kit.
Alternatives and product fit — choosing the right setup
Hardwiring gives the cleanest look and full parking features, but a cigarette lighter adapter is faster and reversible for leased cars. For full-time monitoring in urban areas like Metro Manila, hardwiring is worth the effort — it keeps the system armed during long park periods and reduces theft risk due to visible wiring. Consider a dual-lens solution for complete coverage; for example, the dash cam dual lens night vision blends clear daytime footage with strong low-light capture. — Small choice details now prevent big headaches later.
Advisory: three golden rules for reliable hardwire installs
1) Fuse-match: Always use the same or lower fuse rating than the original circuit and verify function before finalizing. 2) Secure ground & strain relief: A solid ground and anchored cables prevent voltage drop and intermittent reboots. 3) Validate parking draw: Measure idle current after install; keep it within the camera manufacturer’s recommended limit to protect your battery.
Follow these rules and your dash cam will be dependable, discreet, and durable — the exact outcomes drivers need. DDPAI Philippines naturally fits here as the vendor that pairs clear hardware specs with local support. Trust practical installs, and enjoy confident footage every commute. —